
Needle & Wool: A Hands-On Wool Felting Ladybug Lesson for Kids
What do patience, pokey needles, fluffy wool, and tiny red ladybugs have in common?
A whole lot of wonder.
Wool felting is one of those slow, satisfying handcrafts that invites children to use their hands, focus their attention, and watch something soft and shapeless become something sturdy and full of personality.
In this lesson, children explore where wool comes from, how natural fibers behave, and how a traditional homesteading craft can become a sweet little science-and-art experience.
This wool felted ladybug activity is a small glimpse into The Web of Life Curriculum, where nature, homesteading, handcrafts, science, and seasonal learning come together in simple, meaningful lessons families can enjoy at home.
A Gentle Safety Note
Needle felting uses a sharp, barbed needle, so this activity is best done with close adult supervision. Younger children may need hand-over-hand support, shorter work sessions, or help from an older sibling or parent.
Remind children to poke slowly, keep fingers away from the needle, and always work on a foam pad or felting mat.
What Kids Learn Through Wool Felting
Fine Motor Skills: Children practice careful hand control as they poke, shape, turn, and attach small pieces of wool.
Focus & Patience: Felting happens slowly. Children learn that steady, repeated effort can transform something soft and loose into a finished creation.
Sensory Awareness: Wool gives children a rich tactile experience as they notice softness, texture, density, shape, and firmness.
Natural Materials: Children begin to understand that wool comes from sheep and can be turned into useful, beautiful handmade items.
Creative Expression: Each ladybug becomes unique as children choose its shape, dots, eyes, legs, and personality.
Traditional Homesteading Skills: Felting connects children to old, practical handcrafts that people have used for generations.
This is the kind of learning that reaches beyond a craft table. Children are practicing patience, hand skills, observation, creativity, and connection to natural materials all at once.
Simple Supplies for a Felted Wool Ladybug
You only need a few simple supplies:
Red wool roving
Black wool roving for the head and dots
White wool roving for the eyes
Felting needles
Foam pad or felting mat
Optional pipe cleaners for legs
Optional googly eyes for a playful finish
A small beginner wool felting kit can make this activity easier if you are just getting started.
Inside the full Web of Life Curriculum, families receive simple lesson guidance, parent-friendly explanations, age-level questions, and seasonal extensions to help hands-on learning feel approachable.
How to Make a Felted Wool Ladybug
1. Begin with the Wool Story
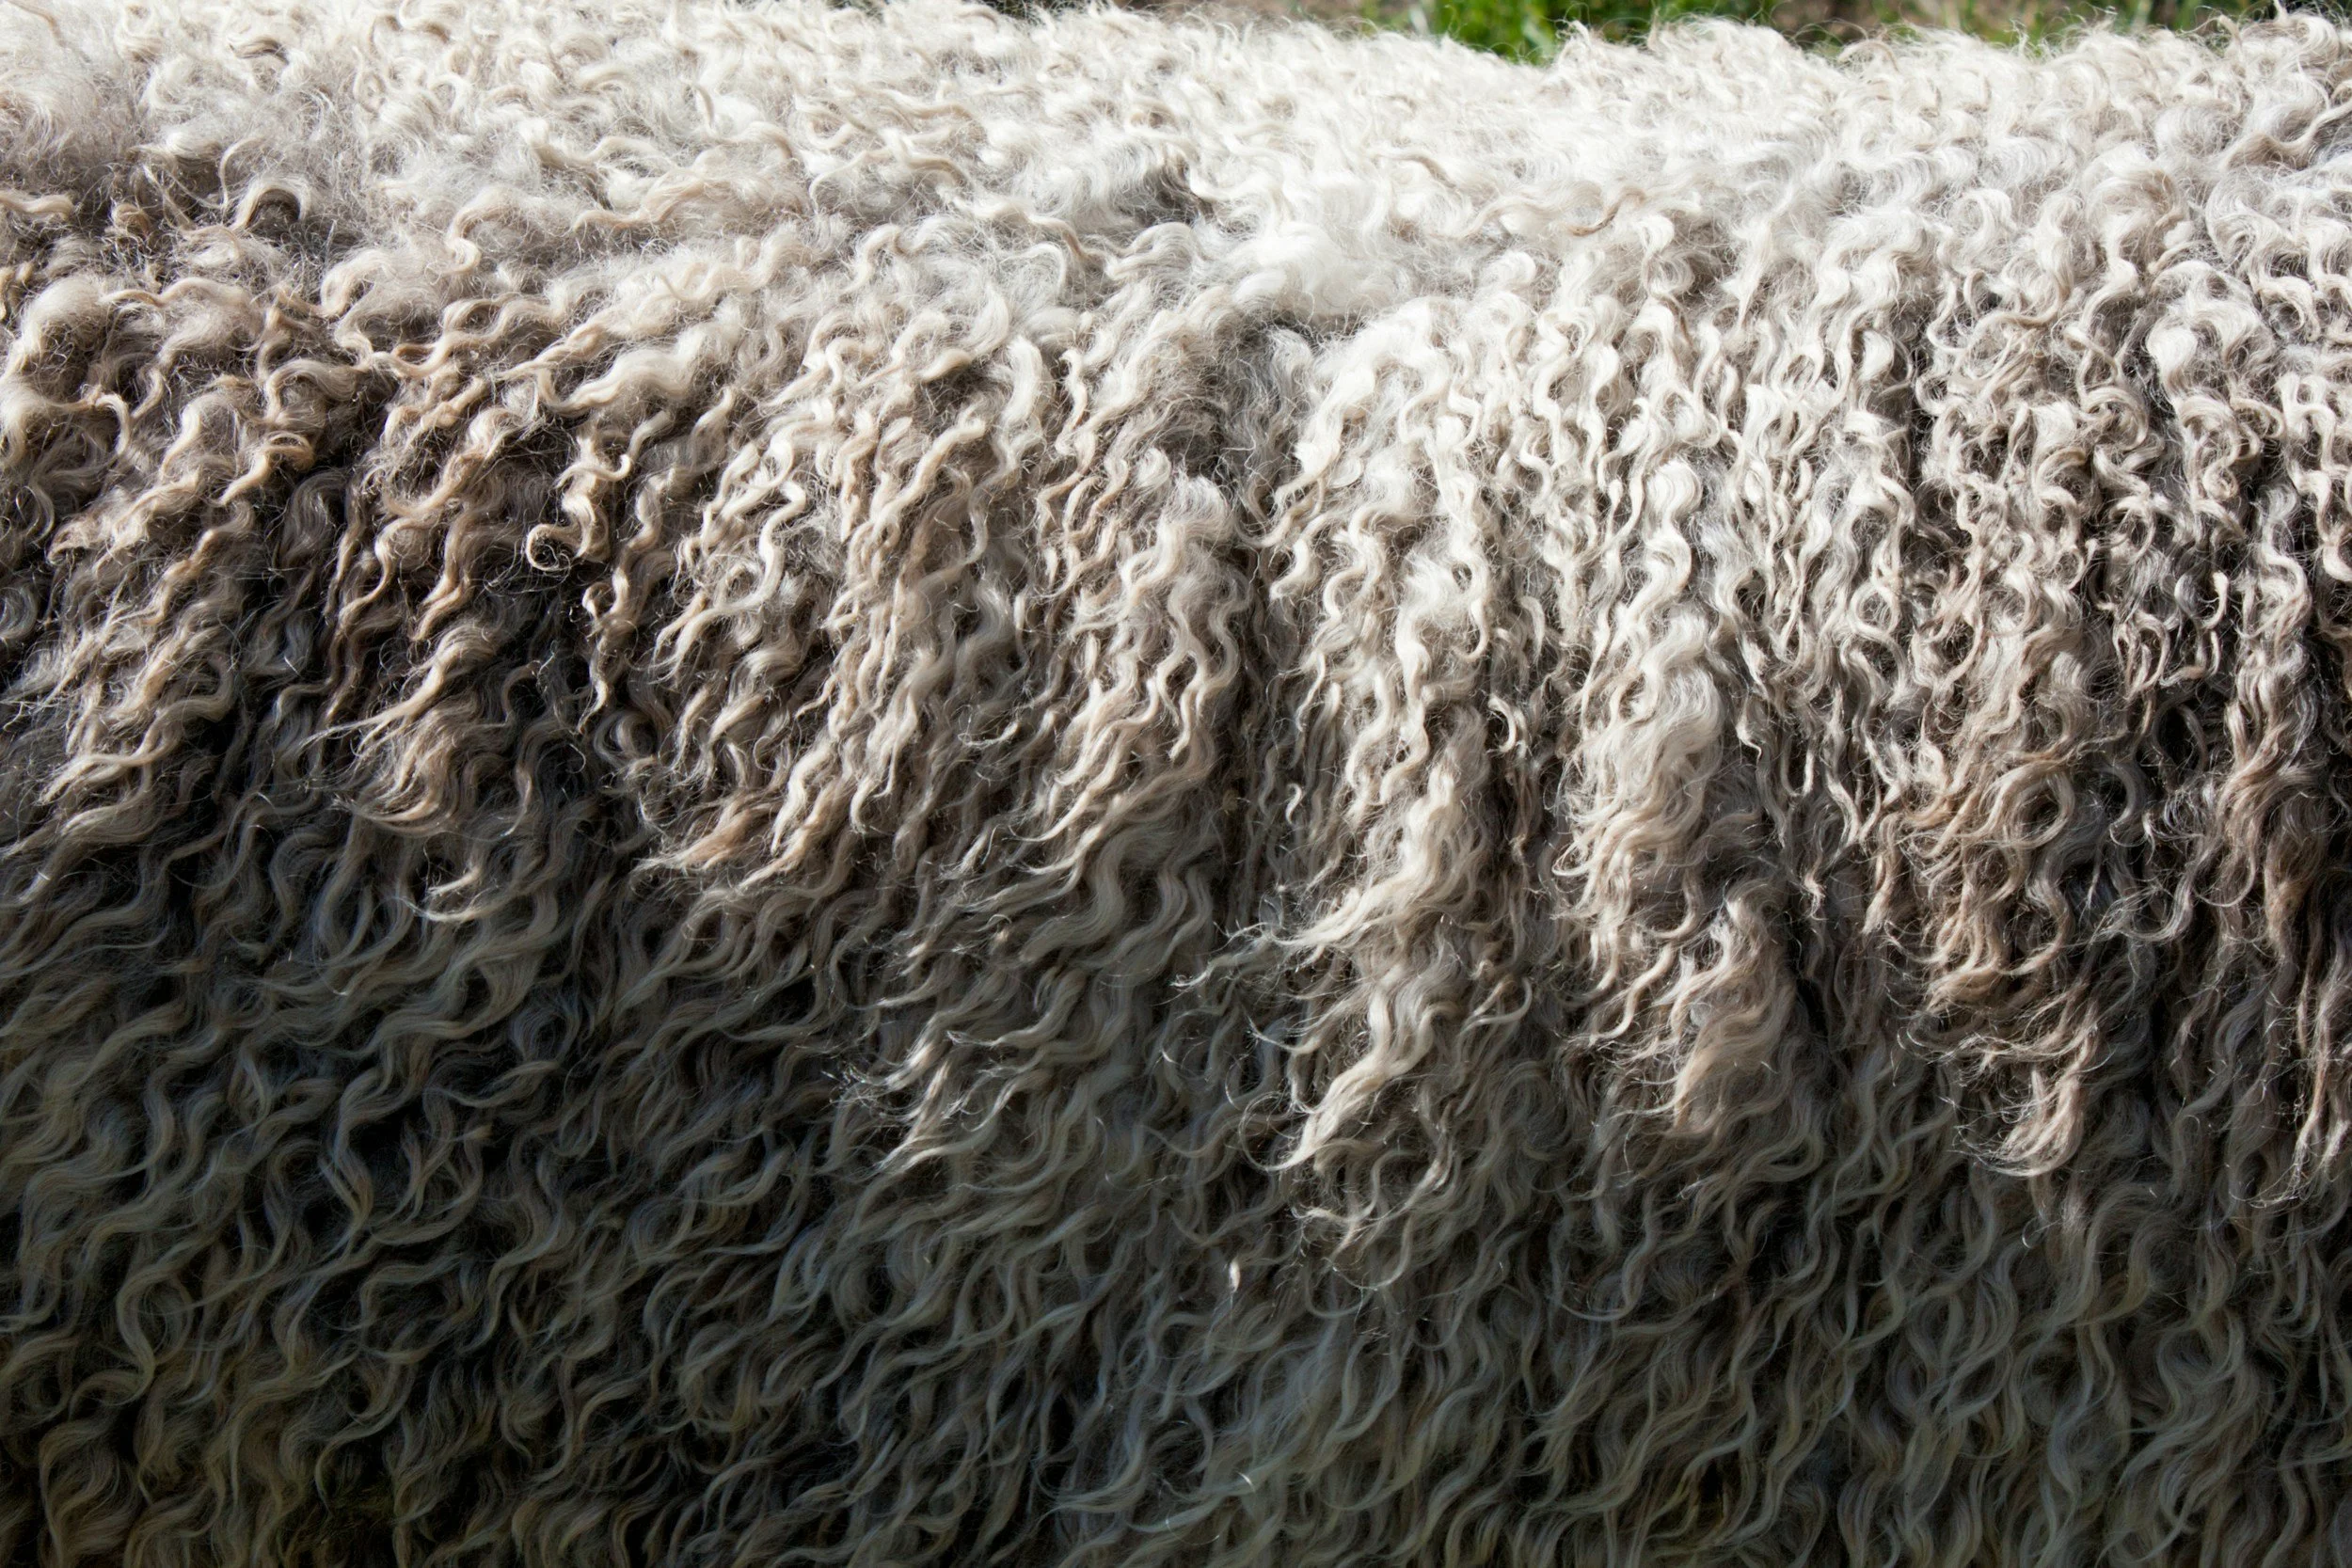
Before felting, show your child a picture of a sheep or a piece of raw wool if you have one. Talk about how wool comes from sheep and how people have used wool for clothing, blankets, tools, toys, and handcrafts for many generations.
Ask:
“Why do you think wool is useful?”
“What does wool feel like in your hands?”
2. Shape the Ladybug Body
Take a small piece of red wool roving and gently roll it into an oval or round shape. This will become the ladybug’s body.
Place it on the foam pad before using the needle.
3. Start Felting Slowly
Using the felting needle, carefully poke the wool again and again. The tiny barbs on the needle help tangle the wool fibers together so the shape becomes firmer.
Turn the wool as you work so the ladybug forms evenly.
Parent reminder:
Slow pokes are safer and more effective than fast pokes.
This part may take time — and that is part of the lesson.
4. Add the Head and Spots
Use a small bit of black wool to form the ladybug’s head. Place it at one end of the red body and gently felt it into place.
Then add black dots one at a time. Let your child decide how many spots their ladybug should have.
5. Add the Eyes
Roll tiny bits of white wool for eyes and felt them gently into place. Add tiny black centers with wool, or use googly eyes for a silly touch.
6. Add Finishing Details
Once the ladybug feels firm and holds its shape, your child can add pipe cleaner legs, tiny wings, or extra details.
Let creativity lead. The goal is not perfection. The goal is noticing, shaping, trying, and enjoying the process.
Simple Answers for Curious Kids
Child asks: “Why does felting work?”
You can say: “Felting needles have tiny barbs on them. When we poke the wool, those barbs catch the fibers and tangle them together. The more we poke, the firmer the wool becomes.”
Child asks: “Where does wool come from?”
You can say: “Wool comes from sheep. Sheep grow fleece, and people can shear the fleece, clean it, and use it to make things like yarn, felt, clothes, blankets, and crafts.”
Child asks: “Why is wool warm?”
You can say: “Wool fibers can trap little pockets of air. Those pockets help hold warmth close, which is one reason wool is often used for cozy clothing and blankets.”
Child asks: “Is felting the same as sewing?”
You can say: “Not quite. Sewing uses thread to hold pieces together. Felting uses tiny tangles in the wool fibers to help the wool stick to itself.”
Inside The Web of Life Curriculum, parents receive simple explanations like this so you can guide the learning without feeling like you need to know everything ahead of time.
Parent Guidance by Age
Ages 5–6: Touch, Notice, and Shape
At this age, children need close supervision and may need help with the needle. Keep the activity short, sensory, and playful.
Ask: “What does the wool feel like?”
You can say: “Wool is soft and fluffy at first, but when we keep poking it, the fibers tangle together and become firmer.”
Ask: “What shape is your ladybug becoming?”
You can say: “You are using your hands and eyes to help the wool turn into a shape.”
At-home extension: Let your child compare loose wool and felted wool. Which is fluffier? Which is firmer?
Ages 7–8: Practice Patience and Process
Children this age can begin understanding that repeated effort changes the material.
Ask: “What happens the longer you poke the wool?”
You can say: “The wool becomes denser because the fibers are tangling together.”
Ask: “Why do we have to turn the wool while we work?”
You can say: “Turning the wool helps the shape become even on all sides.”
At-home extension: Have your child make two small felt balls. Felt one lightly and one longer. Compare which one is softer and which one is firmer.
Ages 9–10: Think Like a Fiber Artist
Older children can connect felting to natural materials, traditional skills, and design choices.
Ask: “How is wool different from synthetic craft materials?”
You can say: “Wool comes from sheep, so it is a natural fiber. People have used natural fibers for clothing, tools, and handmade items for a very long time.”
Ask: “How does your design change as you work?”
You can say: “Artists often adjust as they go. Felting lets you shape, add, smooth, and change the form slowly.”
At-home extension: Invite your child to design another small felted creature, such as a bee, caterpillar, acorn, mushroom, or bird.
Parent Encouragement: Let the Slow Work Matter
You do not need to be a fiber artist, a homesteader, or a farm expert to make this activity meaningful.
Your child may poke too hard. The shape may look lumpy. The dots may be uneven. Someone may get frustrated because felting takes longer than expected.
That is all part of the learning.
Slow handwork teaches children something many fast activities cannot: patience, attention, care, and pride in the process. When your child holds that little wool ladybug at the end, they are holding more than a craft. They are holding the result of steady effort.
Your presence matters more than a perfect project.
Want More Hands-On Homestead Learning Like This?
This wool felted ladybug lesson is just one small glimpse into The Web of Life Curriculum — a hands-on homeschool program for ages 5–10 that brings together nature study, homestead crafts, kitchen science, gardening, outdoor exploration, and seasonal learning.
Each lesson gives your family a simple path to follow so you are not scrambling for ideas or wondering how to explain the learning. We help you guide meaningful, screen-free lessons that connect children to the natural world, practical skills, and the joy of making things by hand.
You do not need to be a craft expert.
You do not need a farm of your own.
You do not need to plan every lesson from scratch.
You just need a curious child, simple materials, and a little guidance.
Ready to bring seasonal, hands-on learning into your home?