
10 Easy Homeschool Science Experiments Using Household Items
Kitchen-Table Science Guide for Curious Kids and Busy Moms
You do not need a fancy lab, expensive equipment, or a science degree to give your child meaningful hands-on science experiences.
Some of the best science lessons begin at the kitchen table with baking soda, vinegar, cabbage water, ice, oil, soap, raisins, or a balloon.
These simple household science experiments help children observe, predict, test, wonder, and try again — all while giving moms an easy way to bring real science into the homeschool day without overwhelm.
The goal is not to perform a perfect experiment.
The goal is to help your child think like a scientist.
Safety Note for Moms
These experiments are simple, but they still need adult supervision. Use eye protection when working with fizzing reactions, avoid touching eyes or mouths during experiments, and wash hands afterward.
For activities involving heat, such as invisible ink, adults should handle the heat source. For slime, check ingredient labels and avoid contact solution if your child has sensitive skin.
Science should feel exciting, but also careful and respectful.
Why Household Science Matters
Household science helps children see that science is not far away in a textbook or locked inside a laboratory. It is happening in the kitchen, the bathtub, the backyard, the laundry room, and the weather outside the window.
Simple experiments can help children:
Build observation skills
Practice asking good questions
Learn to make predictions
Develop patience and focus
Understand cause and effect
Build early lab safety habits
Gain confidence with hands-on learning
See science as part of everyday life
And for moms, household science makes learning feel doable. You can use what you already have, keep the lesson short, and still give your child a rich science experience.
10 Simple Science Experiments to Try at Home
1. Baking Soda and Vinegar Volcano
Mix baking soda and vinegar in a cup, bowl, or homemade volcano shape. Add food coloring for extra fun and watch the fizz rise.
What it teaches: Acid-base reactions and gas formation.
Ask your child:
“What do you notice when the vinegar touches the baking soda?”
“What do you think is making the bubbles?”
Mom-friendly explanation:
When baking soda and vinegar mix, they react and create a gas called carbon dioxide. The bubbles you see are the gas escaping.
2. Homemade Slime
Use glue, baking soda, and contact solution to create a stretchy slime. Let your child explore how it stretches, squishes, pulls, and changes shape.
What it teaches: Polymers, texture, and material changes.
Ask your child:
“How does the slime feel different from the glue?”
“What happens when you pull it slowly? What happens when you pull it quickly?”
Mom-friendly explanation:
Slime forms when ingredients link together and create a stretchy material. It is a simple way to explore how substances can change when combined.
Safety note:
Some contact solutions contain borates, which help slime form but may irritate sensitive skin. Wash hands afterward and avoid slime play for children who react to the ingredients.
3. Color-Changing Cabbage Water
Boil red cabbage in water, then use the purple liquid as a natural pH indicator. Add lemon juice, vinegar, baking soda water, or soap water and watch the color change.
What it teaches: Acids, bases, and indicators.
Ask your child:
“What color did it turn?”
“Which liquids changed the cabbage water the most?”
Mom-friendly explanation:
Red cabbage contains natural pigments that change color when they touch acids or bases. Lemon juice and vinegar are acidic. Baking soda is basic.
4. Water Walking Rainbow
Place cups of colored water in a row and connect them with folded paper towels. Watch the water slowly climb and move from cup to cup.
What it teaches: Capillary action and water movement.
Ask your child:
“How is the water moving?”
“What colors are mixing together?”
Mom-friendly explanation:
Water can move through tiny spaces in the paper towel. This is called capillary action. Plants use a similar process to move water through their stems.
5. Dancing Raisins
Drop raisins into a glass of clear soda and watch them rise and fall as bubbles stick to them.
What it teaches: Gas bubbles, buoyancy, and density.
Ask your child:
“Why do you think the raisins are moving?”
“What happens when the bubbles pop?”
Mom-friendly explanation:
Bubbles of carbon dioxide stick to the raisins and help lift them. When the bubbles pop, the raisins sink again.
6. Soap-Powered Boat
Cut a small boat shape from paper, cardboard, or a sponge. Place it in a tray of water and add a tiny drop of dish soap behind it.
What it teaches: Surface tension.
Ask your child:
“What happened when the soap touched the water?”
“Can you make the boat move again?”
Mom-friendly explanation:
Water has surface tension, which helps the surface act a little like a stretchy skin. Soap changes the surface tension and pushes the boat forward.
7. Invisible Ink
Use lemon juice to write a message on paper. Once dry, an adult can gently warm the paper to reveal the writing.
What it teaches: Oxidation and heat reactions.
Ask your child:
“Can you see the message before it is heated?”
“What changed when warmth was added?”
Mom-friendly explanation:
Lemon juice weakens and changes the paper slightly. When heated, the lemon juice area darkens faster than the rest of the paper, revealing the message.
Safety note:
Adults should handle the heat source. Keep paper away from open flames whenever possible and use gentle heat.
8. Ice Excavation
Freeze small toys, shells, rocks, or nature treasures in a container of water. Give your child warm water, salt, droppers, and spoons to slowly free the objects.
What it teaches: States of matter, melting, and temperature.
Ask your child:
“What helps the ice melt faster?”
“What happens when we add salt?”
Mom-friendly explanation:
Ice is frozen water. Warm water helps it melt. Salt can lower the freezing point of water, which helps the ice break down more quickly.
9. Oil and Water Fireworks
Mix oil and food coloring in a small bowl, then pour it into a jar of water. Watch the color slowly drop and spread through the water like fireworks.
What it teaches: Liquid density and immiscibility.
Ask your child:
“Why do you think the oil stays separate from the water?”
“What happens when the food coloring reaches the water?”
Mom-friendly explanation:
Oil and water do not mix well. Oil is less dense, so it floats on top. Food coloring mixes with water, so it eventually drops through the oil and spreads into the water.
10. Static Electricity Butterflies
Cut a butterfly shape from tissue paper. Rub a balloon on hair or fabric, then hold it near the butterfly and watch the wings lift.
What it teaches: Static electricity and attraction.
Ask your child:
“What happened when the balloon came close?”
“What else can the balloon attract?”
Mom-friendly explanation:
Rubbing the balloon builds up static electricity. That charge can attract lightweight objects like tissue paper.
Teach the Scientific Method Gently
You do not need to turn every experiment into a formal lab report. For young children, the scientific method can be simple and conversational.
Try this rhythm:
Ask: What are we wondering?
Guess: What do we think will happen?
Test: What happens when we try it?
Notice: What do we see, hear, smell, or feel?
Talk: Why do we think that happened?
Try again: What could we change next time?
A simple science journal can help your child record what they see. They can draw pictures, write one sentence, make a chart, or dictate their observations to you.
Parent Guidance by Age
Ages 5–6: Wonder, Watch, and Describe
At this age, keep science short, sensory, and exciting. Your child does not need long explanations. They need chances to watch, touch safely, smell, listen, and describe what they notice.
Best experiments for this age:
Baking soda and vinegar volcano
Dancing raisins
Water walking rainbow
Ice excavation
Static electricity butterflies
Ask: “What do you see happening?”
You can say: “Scientists notice carefully before they explain.”
Ask: “What do you think will happen next?”
You can say: “That is called a prediction. A prediction is your best guess.”
At-home extension: Have your child draw the experiment before and after.
Ages 7–8: Predict, Compare, and Record
Children this age are ready to make guesses, compare results, and begin recording what happened.
Best experiments for this age:
Cabbage water pH test
Soap-powered boat
Oil and water fireworks
Ice excavation
Homemade slime
Ask: “What changed during this experiment?”
You can say: “Science often looks for change. We notice what was different before, during, and after.”
Ask: “What could we test next?”
You can say: “Scientists often change one thing at a time so they can understand what caused the result.”
At-home extension: Make a simple chart with three columns: “What I used,” “What happened,” and “What I wonder.”
Ages 9–10: Think Like a Young Scientist
Older children can begin using more precise vocabulary and thinking about variables, causes, and patterns.
Best experiments for this age:
Color-changing cabbage water
Slime
Invisible ink
Soap-powered boat
Oil and water fireworks
Ask: “What variable could we change?”
You can say: “A variable is one part of the experiment we change to see if it affects the result.”
Ask: “How could we make this test more fair?”
You can say: “A fair test means we change only one thing at a time and keep the other parts the same.”
At-home extension: Have your child choose one experiment and test it three ways. For example, compare warm water, cold water, and salt water during ice excavation.
Build Lab Confidence Early
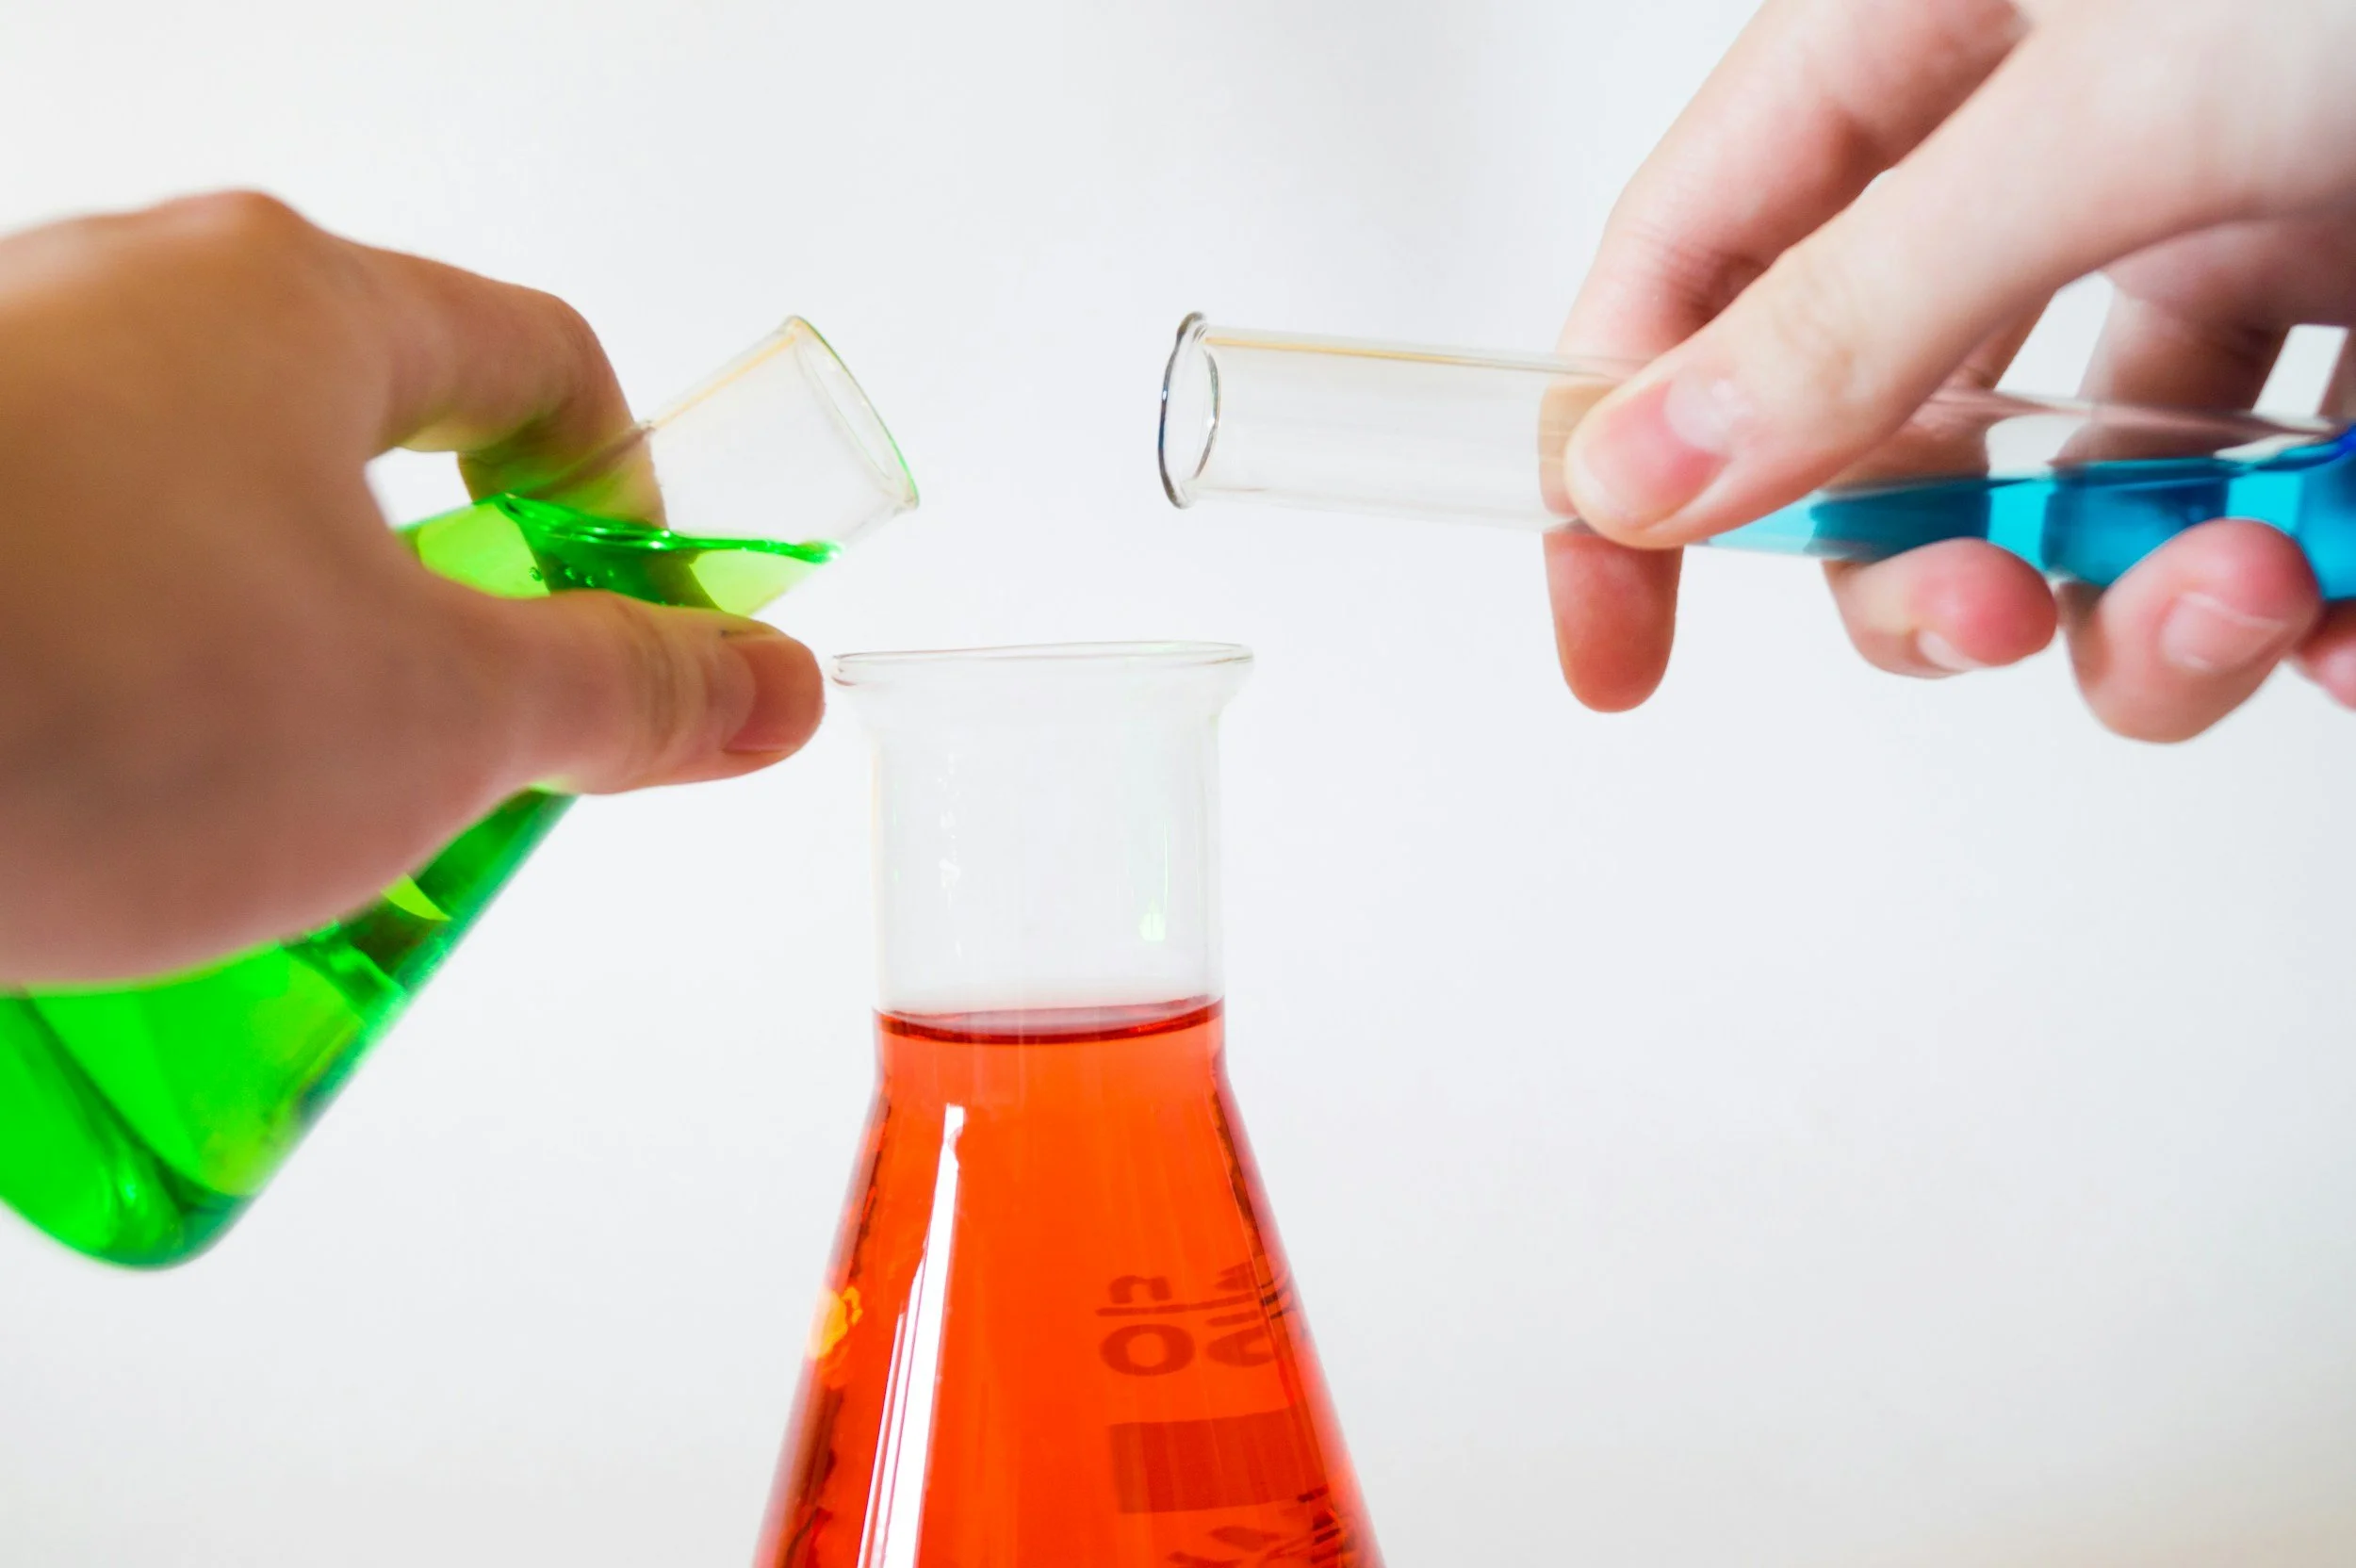
These simple experiments help children feel like real scientists. They learn to measure carefully, follow directions, observe changes, ask questions, and try again.
You can also introduce gentle lab habits:
Wear safety goggles when needed
Tie back long hair
Wash hands before and after experiments
Label ingredients
Keep food experiments separate from tasting unless the recipe is meant to be eaten
Clean up together
Talk about what went well and what you would change next time
These small habits build confidence for future science labs in middle school, high school, and beyond.
But more than that, they help children see themselves as capable learners.
Encouragement for Moms
Science is not about having every answer ready.
It is about wondering, trying, failing, observing, laughing, cleaning up the mess, and trying again.
Your experiment may overflow.
The slime may be too sticky.
The cabbage water may smell funny.
The butterfly may not lift on the first try.
That does not mean the lesson failed.
It means your child is seeing real science: testing, adjusting, and learning from what actually happens.
You are not just teaching facts. You are giving your child courage to ask questions.
Want More Hands-On Learning Like This?
This household science list is a simple place to begin. And if you want seasonal, hands-on lessons already planned for you, The Web of Life Curriculum can help you bring nature, science, art, kitchen learning, homesteading, and outdoor discovery into your homeschool rhythm.
Each lesson gives your family a gentle path to follow so you are not scrambling for ideas or wondering how to explain the learning.
You do not need to be a science expert.
You do not need a fancy lab.
You do not need to plan every lesson from scratch.
You just need a curious child, simple materials, and a little guidance.